- TOSIZE.pt
- Do it yourself
- DIY Projects
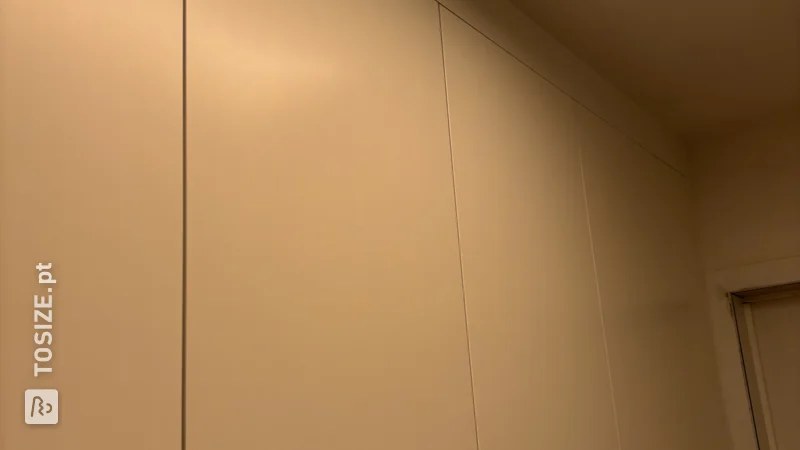
Stylish Built-in Wardrobe Above Door With High Ceiling, by Christiaan
Stylish Built-in Wardrobe Above Door With High Ceiling, by Christiaan

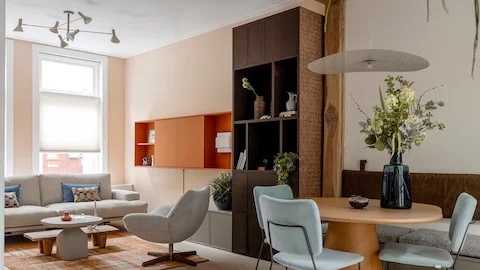

Create this project yourself with sheet material cut to size by TOSIZE.pt!

Christiaan

Average
2 minutes
A Unique Custom Built-in Wardrobe
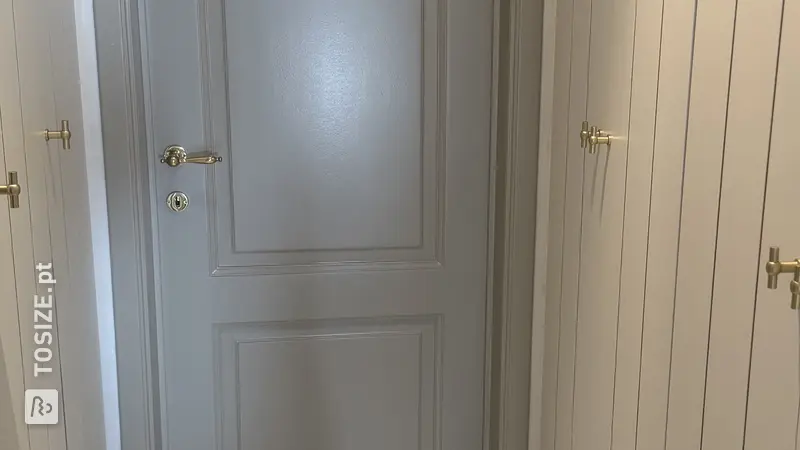
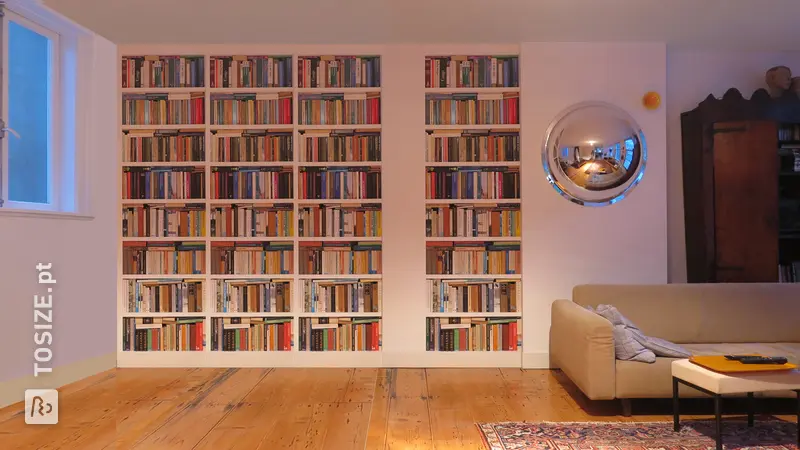
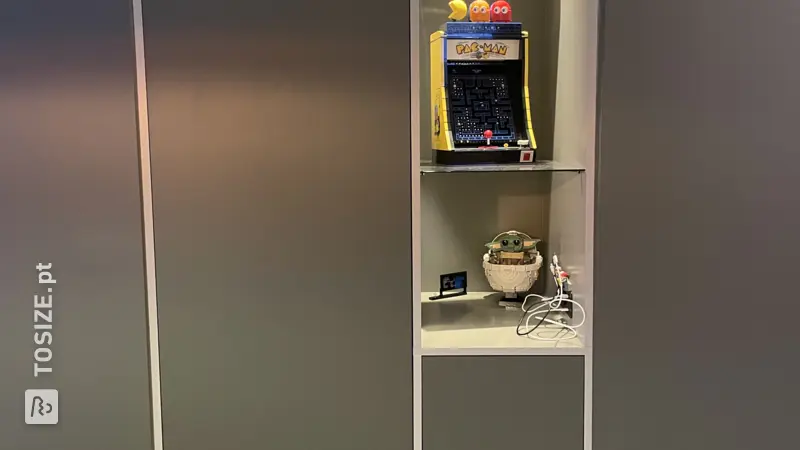
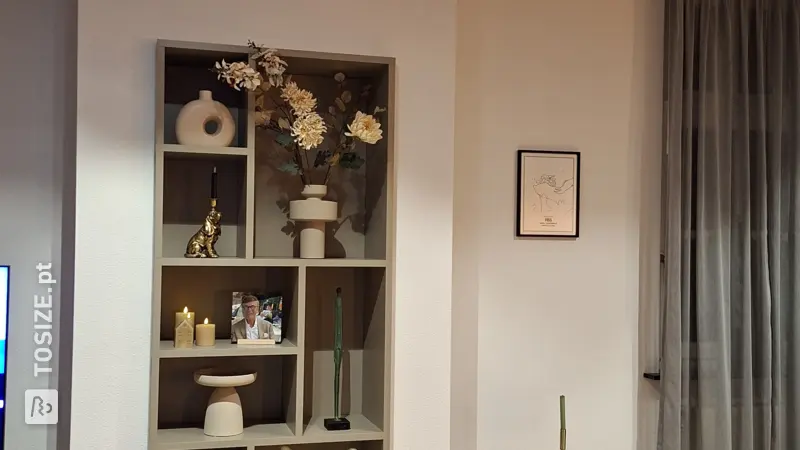
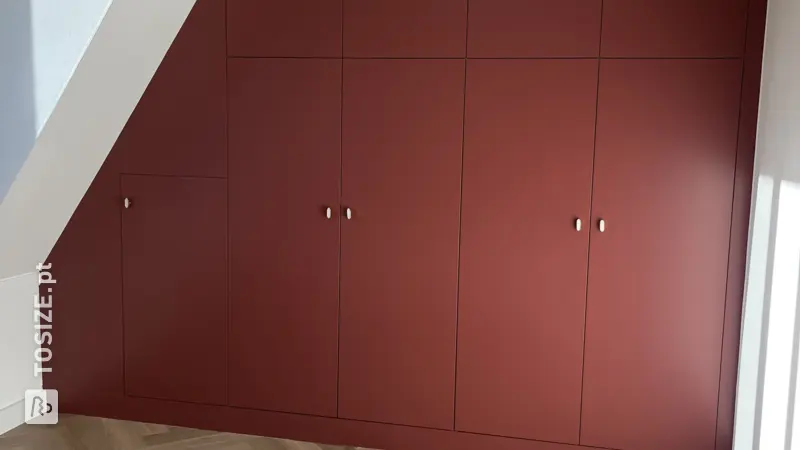
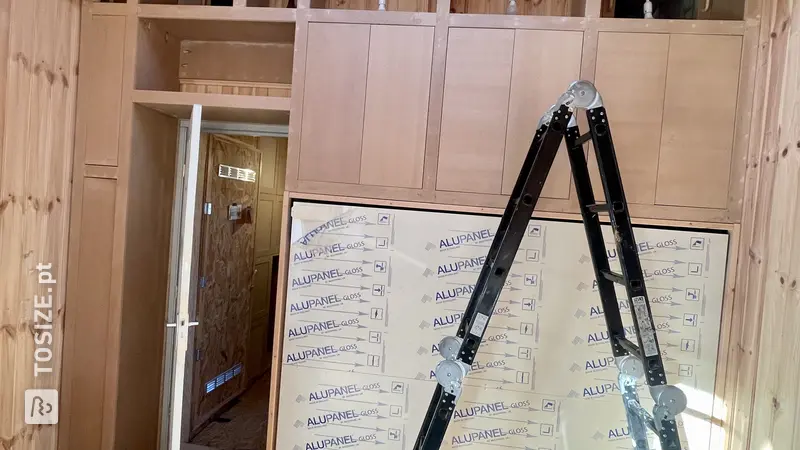
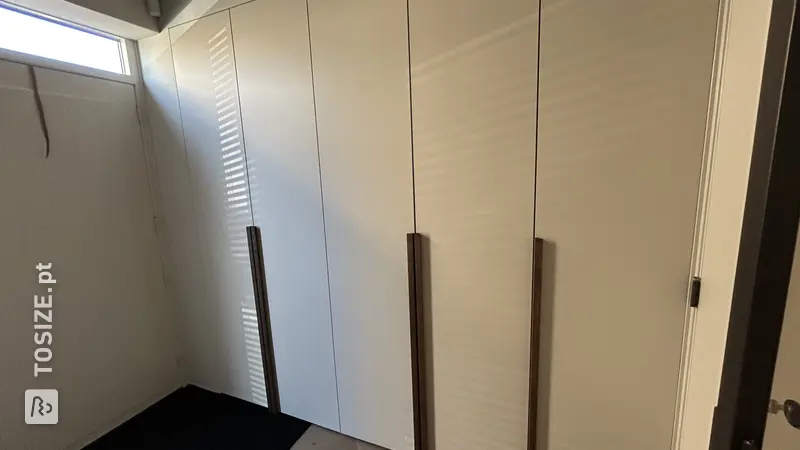
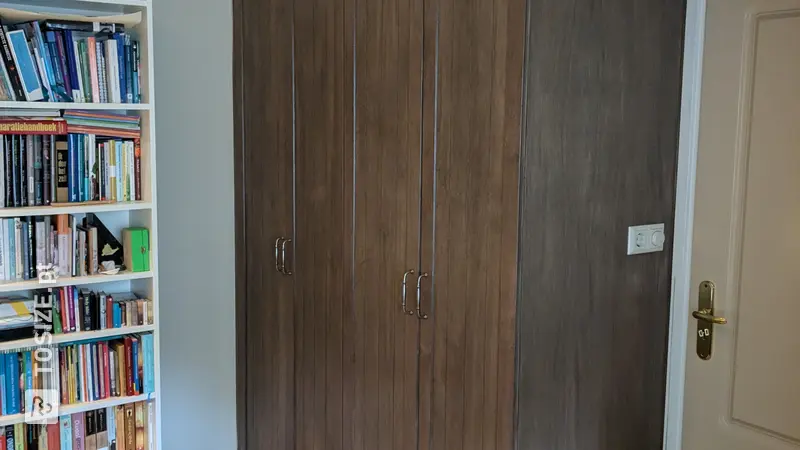
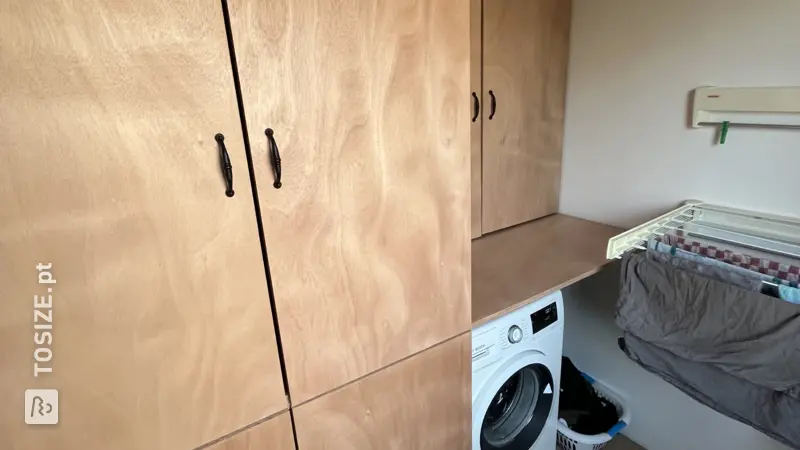
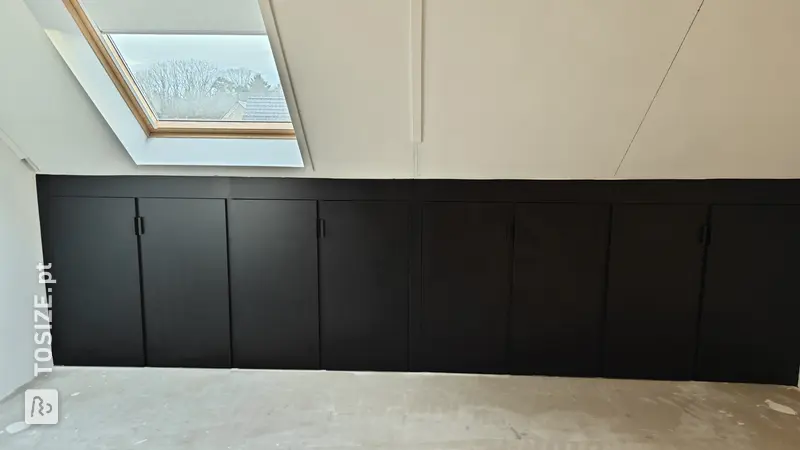
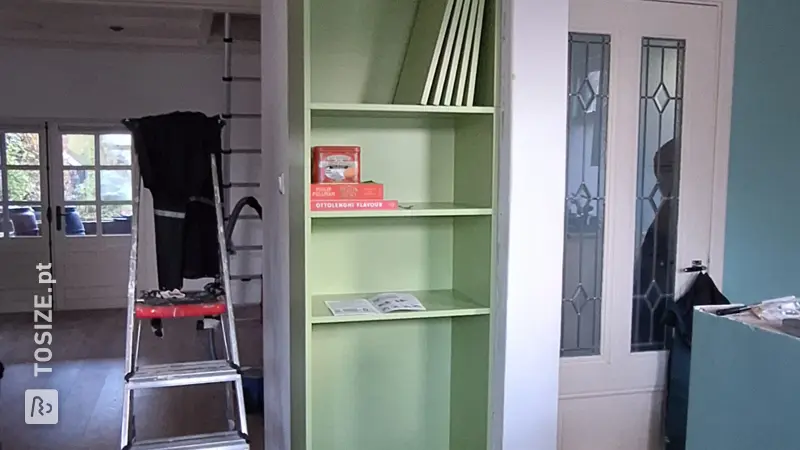
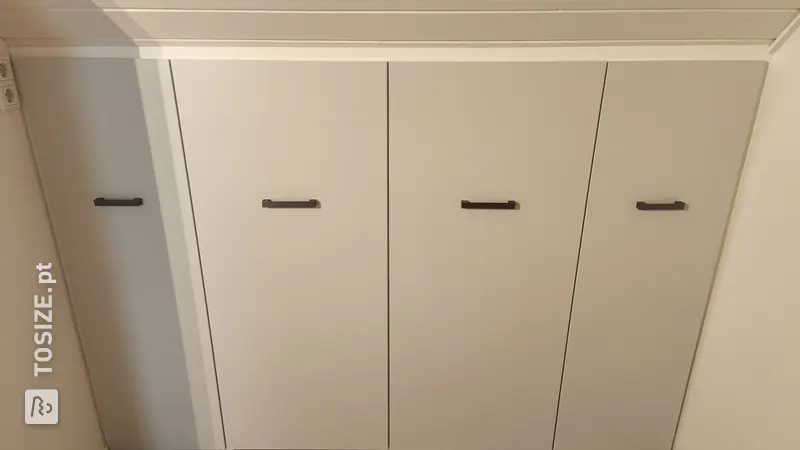
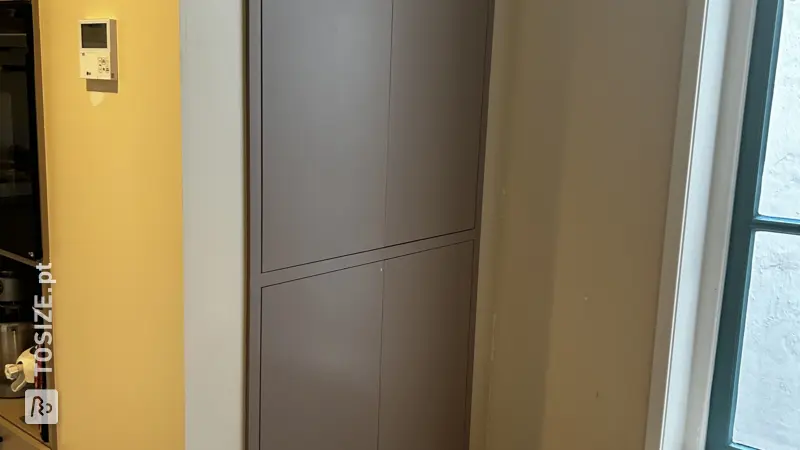
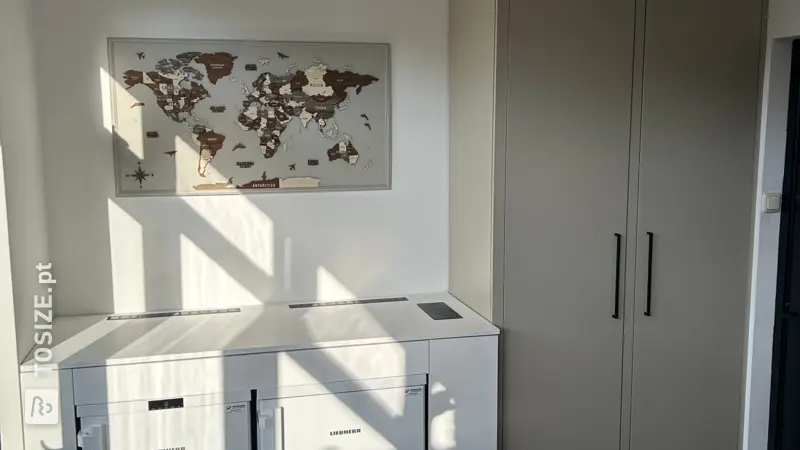
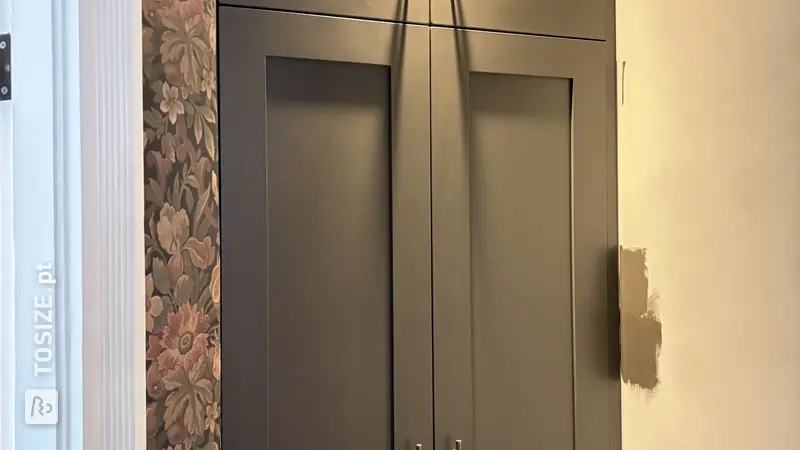
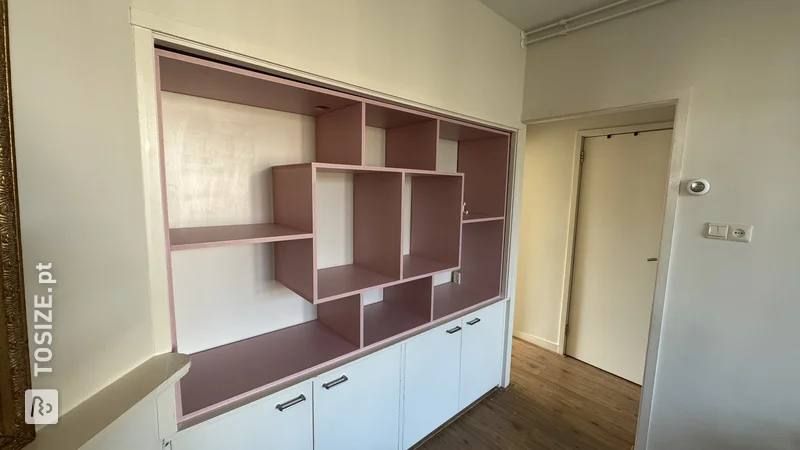
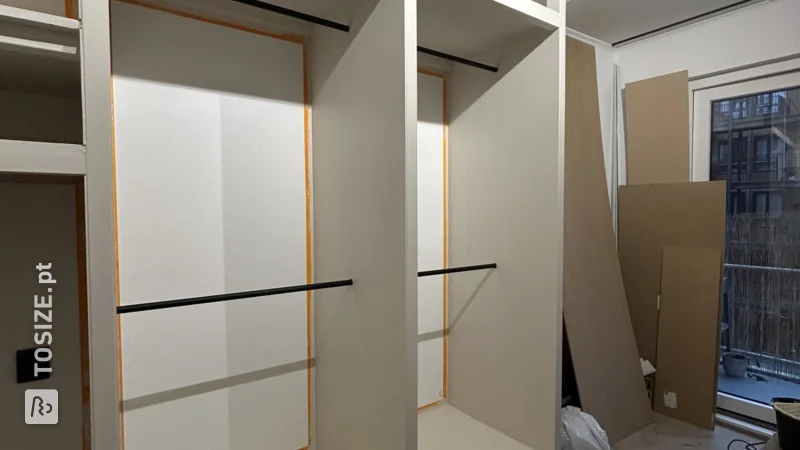
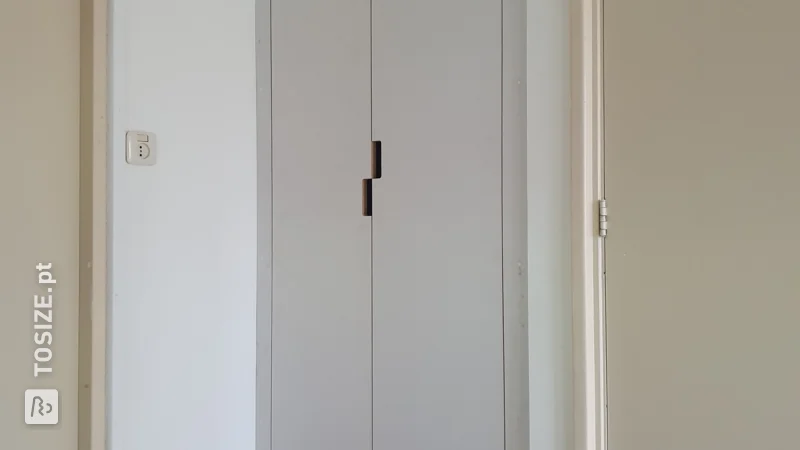
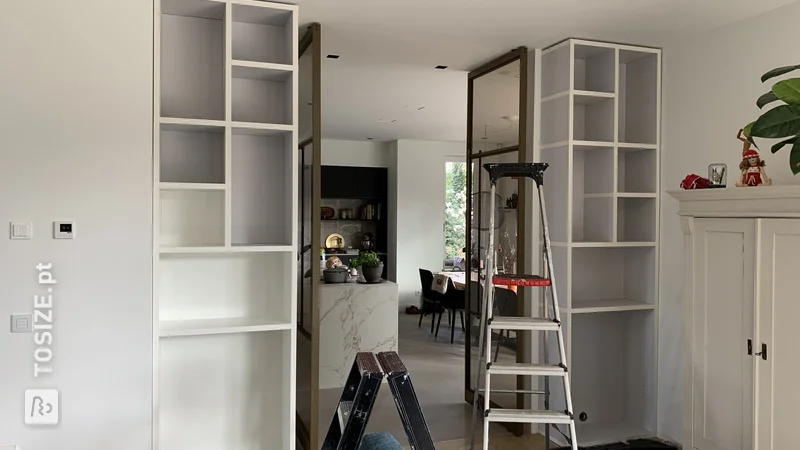
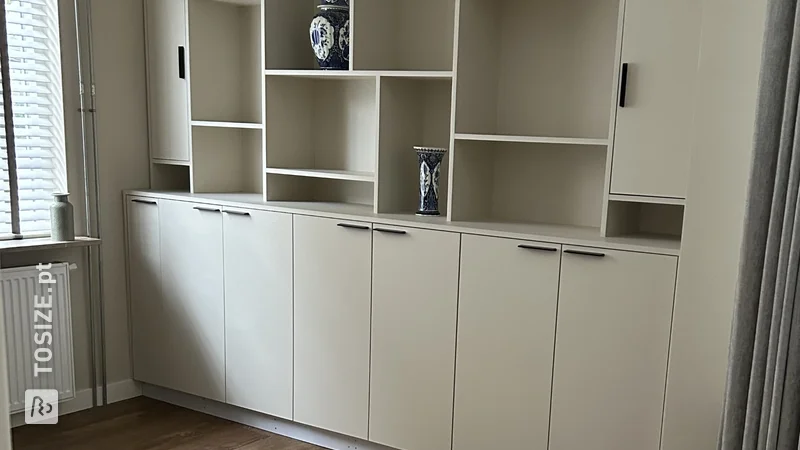
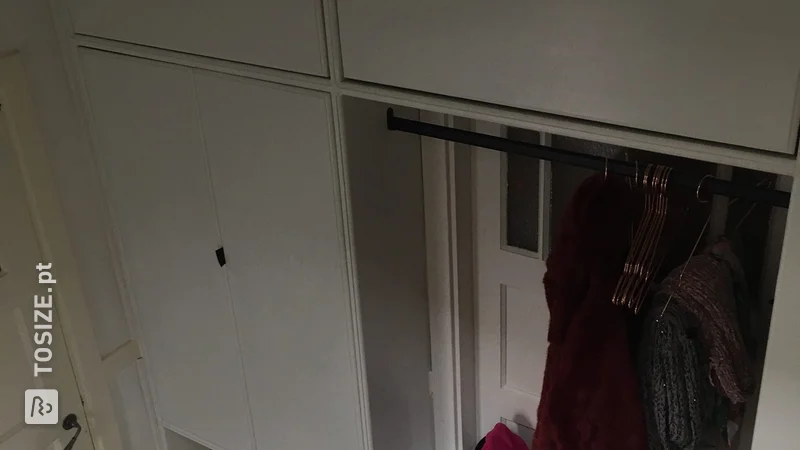
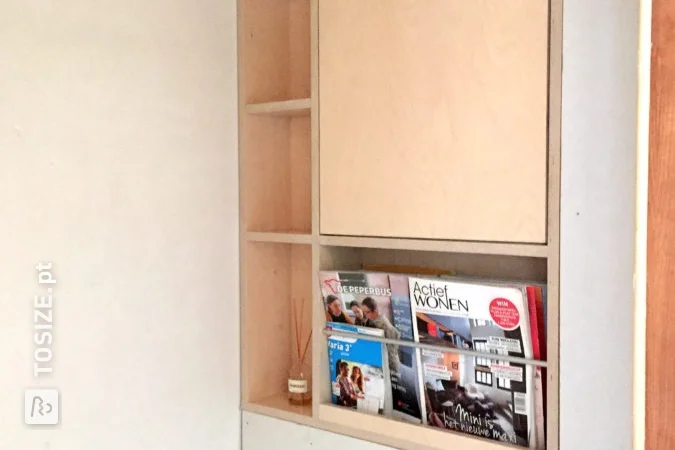
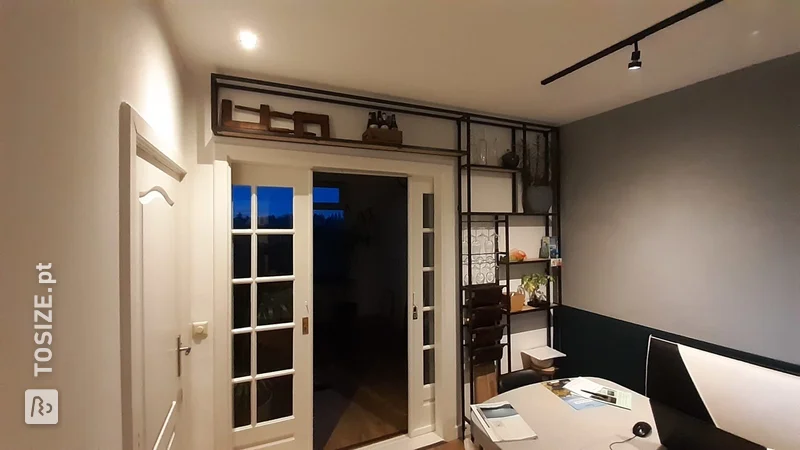
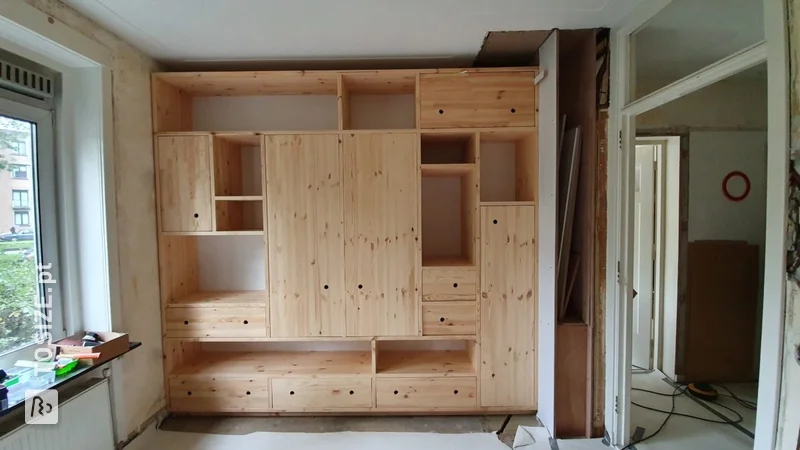
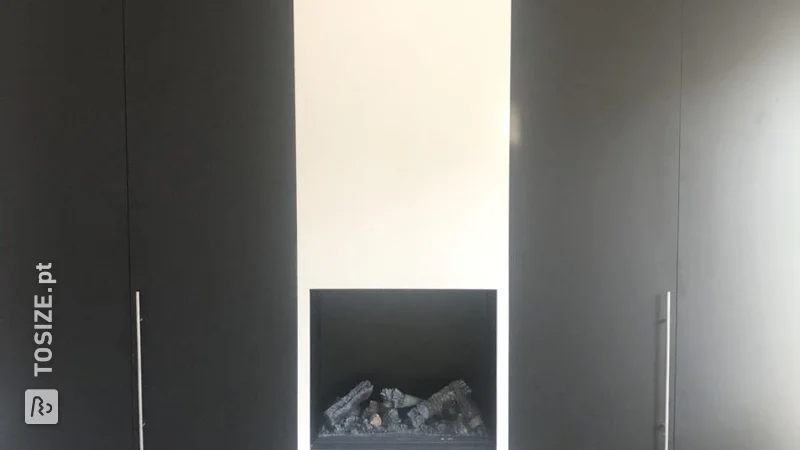
When you think of clever storage solutions, consider this beautiful built-in cabinet above the door in a high-ceilinged room. Created by Christiaan, this cabinet not only provides extra storage but also makes a stylish addition to the interior. Thanks to TOSIZE.pt, the wood is precisely cut to size, ensuring everything fits together perfectly.
The Design and the Materials
The cabinet is carefully constructed from light-colored Timberboard Pine light planks, which gives the space a natural look. The cabinet doors are mounted with sturdy piano hinges, making them easy to open and close. The light wood contrasts beautifully with the white walls and ceiling, allowing the cabinet to blend seamlessly into the space.
Perfect Placement Above Door
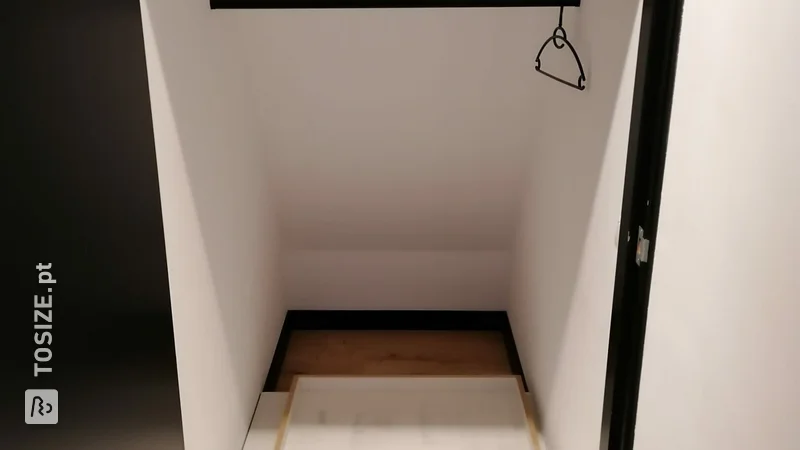
Located above a door in a high-ceilinged room, this built-in cabinet makes the most of the available space. This clever use of otherwise unused space is ideal for storing items you don't need every day. It's a perfect solution for narrow hallways or rooms where space is often a challenge.
Benefits of Making Your Own
One of the biggest advantages of building a project like this yourself is the freedom to choose the dimensions and materials. Using custom-cut lumber from TOSIZE.pt makes the process not only easier but also more adaptable to personal preferences and a suitable budget.
Wood type: Timberboard Pine light
Timberboard Pine light is an excellent choice for this type of project. It not only offers a light and airy look but is also easy to work with. This makes it ideal for cabinets and other furniture requiring a refined finish.
DIY tip
Make sure the shelves are securely fastened with sturdy hooks or screws so they can support the weight of stored items. A solid foundation is essential for the durability of your project.
Are you inspired by this unique project? With a little help from TOSIZE.pt and your own creativity, there are plenty of possibilities to enhance your home with custom solutions.
Tip! Also check out our handy DIY tips!
Step by step guide
Preparation
- Measure everything a few times and calculate the dimensions to ensure they're correct. Do this at varying depths to ensure the walls aren't too crooked. Then use a sagometer to calculate the deflection depending on the material you plan to use. It ended up being larger than originally planned, so we opted for thicker panels and 3mm aluminum strips along the sides. For the door, I used 4mm along the edge, as that's roughly the thickness of the piano hinge.
Montage
- We cut all the aluminum strips to size and marked and drilled the holes. Most of the holes were then countersunk at a 45-degree angle to ensure proper screw placement. We left the back edge unsunk to allow for adjustment. After that, we sanded it down, cleaned it, and applied two coats of primer, followed by two coats of varnish. We primed the wood once, then applied two coats of varnish, sanding it with a plastic pad in between. We marked the slats and holes with a laser level, which made the job much easier.
Finish
- We've attached the slats and put the planks on top, securing them with small screws to prevent slippage. We've aligned the door and side pieces so they close properly, and two magnets hold the door in place. The wall is a bit slanted on the left, so we've put spacers in there, and I'll finish it off with paintable caulk. We're still debating whether we can fit a handle on it.
- Thinking about what to do with the leftover wood
What now?
Want to make this DIY project? Check out Christiaan's saw list and complete your order easily.
€ 661,41
View all sheet materials
My experience with TOSIZE.pt
Order
Delivery
General experience